
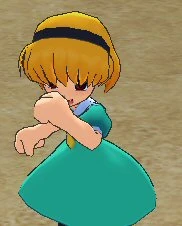
Satoko with her trap lectures
This character's normals are the same for all weapons. Go to Satoko Houjou to see info about this character's normal attacks.
| Type | Attack |
|---|---|
| Neutral Shot | Banana Peel (Cost: 1 Main each, use 4 at a time) |
| Charge Shot | Motion-Activated Traps (Cost: 1 Charge) |
| Full Charge Shot | trap ultima (a giant bomb) |
| Melee | Short Range Attacks | Mid Range Attacks | Long Range Attacks |
| B | X | X | X |
Satoko forma de trap (JP community refers to as Trap Kid (Wanako "罠子"), and officially named Satoko's Trap Lecture (Satoko no Torappu Kouza "沙都子のトラップ講座") is a trap setting character.
If you leave her alone to set many traps, she can be very annoying to deal with, and coupled with Satoko's mobile normal attacks such as the spindash (Forward Attack) and bouncing air spindash (Flying Attack), she is a force to be reckoned with.
She is HEAVILY matchup and stage choice dependent, for example, if you have to fight long-range characters like Kasai on an open and clean stage like the School, you will struggle a lot. Be careful using this character if the opponent knows how to make it difficult for her.
Setting traps on top of the mountain in the River stage is a viable strategy and is canon to Matsuribayashi so enjoy roleplaying. Her best stage is the Dam/Junkyard.
Shots[]
Neutral Shot (NS)[]
Reload time: 3 seconds
Full reload time: 15 seconds (to refill 10 shots from 0) Sets up to four banana peels at once that all deal little damage each. You can walk to set them in different places.
Oh these are pretty cool bananas
")
Charge Shot (CS)[]
Reload time: 10 seconds
Full reload time: 20 seconds (to refill 4 shots from 0)
She has 3 CS options, Neutral CS, Forward CS, and Horizontal CS. They all activate when they sense an opponent close by.
Her CS has three different levels, which levels up when traps are used in succession of each other with a maximum gap of 5 seconds. For example, if a trap were to go off, and another trap were to go off within 5 seconds, that next trap would be a Lvl 2 trap, and the next trap within 5 seconds would be a Lvl 3 trap.
The level of the trap will be maintained for 10 seconds. Meaning, if another trap is not activated for 10 seconds after the last one, the level will reset back to Lvl 1. For example, if you had a Lvl 2 trap and the next trap activated 7 seconds later (between 5 and 10 seconds), it would not level up to Lvl 3, but would stay as Lvl 2.
Using CS with no direction input or holding back sets a satellite turret that shoots the enemy with a projectile. Not very powerful except for the damage of Lvl 3, but has the longest range sensor.
Lvl 1 - Multiple small pink beams.
Lvl 2 - 3 long blue beams.
Lvl 3 - Planet buster Kamehameha, goes through terrain and obstacles and does high damage. Interestingly, it will prefer to aim at the opponent that is not locked onto.
")
")
")
")
CS while holding forward on the release will set a flag. This has a lower range sensor than the turret. This is the hardest one to see, and Lvl 2 and 3 give status effects that can easily make them fall into another trap.
Lvl 1 - Many yellow basins fall on the opponent.
Lvl 2 - Many blue buckets fall on the opponent, covering them with one and blinding them for a few seconds.
Lvl 3 - Sets the opponent on fire. Unblockable. They will be burning and have to run around for a few seconds.
")
")
")
")
CS while holding to the side when releasing sets a cardboard box.
Lvl 1 - A boxing glove shoots out at the opponent. Blockable and dodgeable.
Lvl 2 - An iron ball shoots out at the opponent. Blockable and dodgeable
Lvl 3 - Explodes. Difficult to block. Can hit allies as well.

Satoko cardboard box traps
")
")
Full Charge Shot (FCS)[]
Charge time: 10.4 seconds
Sets a bomb that creates a decently-sized explosion after many seconds. The explosion can hurt you and your ally, but does considerably more damage to the opponent (around 50%).
")
")
Combos/Tech Tips[]
You can knock characters into traps to create combos.
Here's a funny example that instant kills (four cardboard boxes).
Character Matchups[]
Trap Satoko is good against characters who are forced to approach, like short-range characters such as Hyper Arm Ooishi.
Medium range characters are difficult.
You will want to avoid playing against characters that specialize in long-range attacks. Her natural enemies are Golfer Keiichi, Spray Takano, Hoe Rika, and Kasai. Those matchups are extremely hard for Trap Satoko.
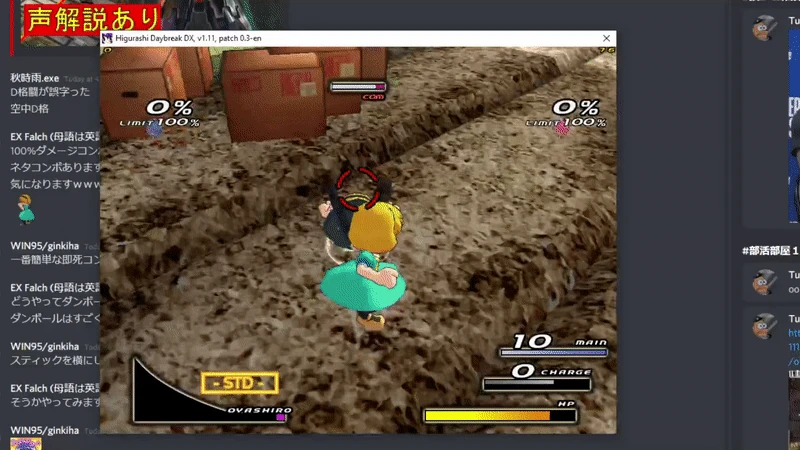
Stage Recommendations[]
TL/DR: Avoid School and Village, choose River or Junkyard
The worst stage to choose would be the School stage, as it is mainly a big plain field. You can try to hide the traps in the shadows and close to the buildings.
The second worst stage would be the Village stage. It is relatively wide and has few obstacles. Try to hide the traps in the grass and along the steps.
The Shrine Ritual Storehouse stage is a little difficult. You can hide your traps in a number of places.
The River stage is a decent stage. It can be difficult to see the traps. You can try to claim the top of the mountain to roleplay and it can be hard for opponents to approach.
The Junkyard stage is her best stage. You can hide traps among the garbage, and it can be hard for opponents to navigate the map if you put traps among the path.
")
")
")